
The Ultimate Guide to Using Japanese Whetstones: Sharpening Techniques for Beginners
If you’re passionate about outdoor adventures or simply love cooking with precision, maintaining a sharp blade is essential. Japanese whetstones, known for their superior quality and craftsmanship, are a favorite among enthusiasts worldwide. In this comprehensive guide, we walk you through everything you need to know about using Japanese whetstones to keep your knives and tools razor-sharp.
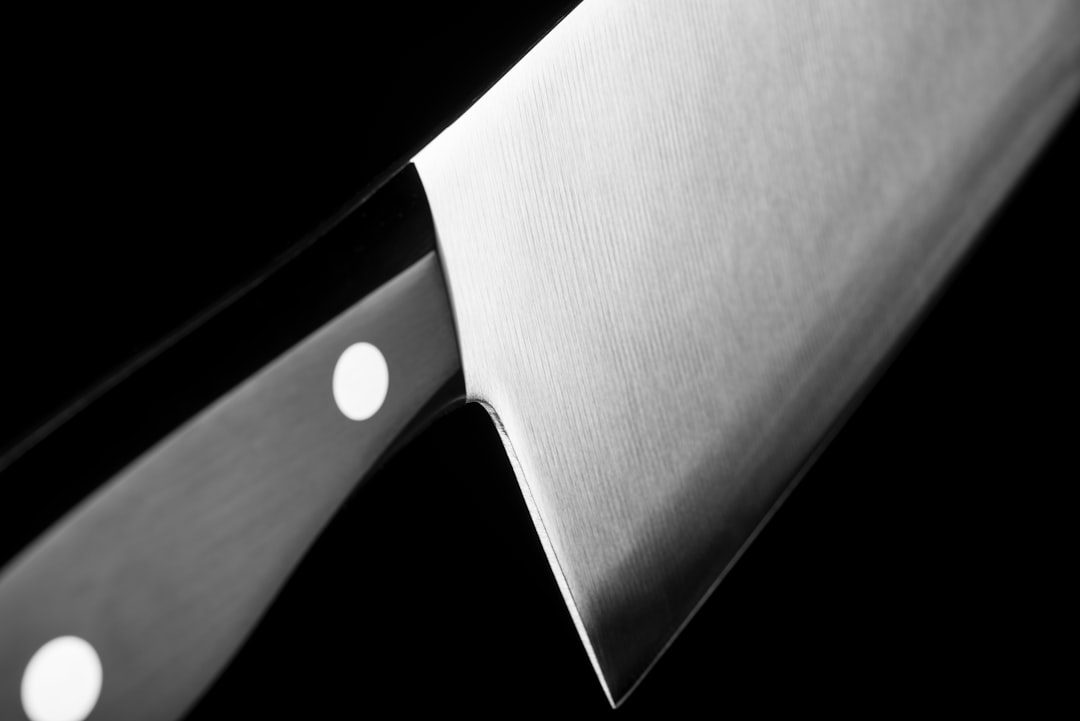
Looking for Sharp blade?
Why This Matters
Sharp knives are safer, more efficient, and significantly enhance the experience of cooking or preparing gear outdoors. Japanese whetstones are renowned for their ability to produce ultra-sharp edges with minimal effort and preserve the longevity of your blades. For campers and outdoor enthusiasts, maintaining your knives with these stones is part of respecting the tools and nature alike.
Looking for Sharp knives?
Looking for Sharp edges?
Understanding Japanese Whetstones
Types of Japanese Whetstones
- Arato (Coarse, ~400-600 grit): Used for repairing damaged edges.
- Nakato (Medium, ~1000-3000 grit): Ideal for regular sharpening and edge shaping.
- Shiageto (Fine, 4000-8000 grit): For polishing and refining the edge to razor sharpness.
Japanese whetstones are typically made from natural or synthetic materials. Synthetic stones like those from brands such as King or Shapton offer consistency and availability, while natural stones offer unique textures prized by professionals.
Step-by-Step Sharpening Guide for Beginners
1. Prepare Your Workspace
- Choose a stable, flat surface.
- Place a non-slip mat or damp towel under your whetstone to prevent movement.
- Have clean water nearby to soak and lubricate the stone.
2. Soak the Whetstone
Soak your whetstone in water for 10-15 minutes or until bubbles stop rising. This ensures the stone remains lubricated during sharpening, preventing damage to both stone and blade.
3. Start with the Coarse Grit (If Needed)
If your blade is dull or nicked, begin with an arato stone (~600 grit). Hold the knife at a consistent angle of 15-20 degrees against the stone.
- Use smooth, controlled strokes, pushing the blade away from you.
- Sharpen one side for 10-15 strokes, then switch sides.
- Check the blade edge for burr formation (a slight rough edge) indicating proper sharpening.
4. Move to Medium Grit for Edge Refinement
Switch to a nakato stone (~1000-3000 grit) to refine the edge. Repeat the same angle and stroking technique but with lighter pressure. This step sharpens and smooths the blade.
5. Finish with a Fine Grit Stone
Use a shiageto stone (4000 grit or higher) to polish the edge and achieve razor sharpness. Light, consistent strokes will create a mirror-like finish.
6. Test Your Blade
- Try slicing paper or shaving a small patch of hair on your arm (carefully).
- If the blade cuts smoothly without tearing, you’re done.
7. Clean and Store
Rinse the whetstone and your blade with water, dry thoroughly to prevent rust, and store your whetstone in a dry place.
Sharpening Tips
- Respect Your Tools: In Japan, the relationship with one’s tools is almost spiritual. Always take time to sharpen your knives carefully, treating the process as a meditative ritual.
- Maintain Consistent Angles: Japanese blades often have thinner edges than Western knives. Maintaining a 15-degree angle preserves the delicate edge and prevents chipping.
- Invest in Quality Stones: Brands like King and Shapton produce stones widely used in Japan and appreciated by outdoorsmen for their reliability in field sharpening.
- Regular Maintenance: For camping trips, carry a portable whetstone with medium grit to touch up your blades regularly—this prevents the need for coarse sharpening outdoors.
- Wet the Stone Properly: Japanese whetstones require soaking, unlike oil stones common in the West. Proper soaking prevents metal grit from clogging the stone’s pores.
Recommended Japanese Whetstones for Beginners and Campers
- King KW65 1000/6000 Grit Combination Stone – Approx. $40-$50. Great all-around starter stone with medium and fine grits ideal for camping use.
- Shapton Kuromaku Series – Approx. $80-$100. Known for fast sharpening and durability; excellent for sharpening outdoors.
- Naniwa Super Stone 8000 Grit – Approx. $60-$80. Perfect for polishing and finishing your blade to a razor edge after camping.
All these stones are manufactured in Japan, ensuring authentic quality. For camping enthusiasts using Japanese gear (think Snow Peak cookware and knives), pairing your outdoor tools with Japanese whetstones keeps your setup authentic and functional.
Looking for Snow Peak cookware?
Conclusion
Mastering the use of Japanese whetstones elevates your outdoor and culinary experience. By following this guide, you’ll maintain sharp knives that make food preparation safer and more enjoyable, both at home and on the trail. Remember, sharpening is a skill honed with patience and respect—values deeply embedded in Japanese craftsmanship. Whether you’re prepping fish on a camping trip or slicing vegetables in your kitchen, your sharpened blade will always serve you well.
Looking for Sharp knives?
Ready to try? Start with a quality whetstone and take it step-by-step. Your blades—and your next outdoor meal—will thank you!
We’ve tested these techniques and products extensively in Japan, from urban kitchens to mountain campsites, and recommend them wholeheartedly for American outdoor enthusiasts.
Frequently Asked Questions
Q: Are Japanese whetstones better than regular sharpening stones?
Yes, Japanese whetstones are known for their superior quality and craftsmanship, making them a favorite among knife enthusiasts worldwide for maintaining razor-sharp blades.
Q: Can I use a Japanese whetstone to sharpen kitchen knives?
Yes, Japanese whetstones are excellent for sharpening kitchen knives and maintaining precision blades for cooking, and they’re widely available on Amazon.
Q: What do I need to know as a beginner using Japanese whetstones?
Beginners should follow proper sharpening techniques to effectively use Japanese whetstones, which this guide covers comprehensively for both outdoor tools and kitchen knives.